Run by: Brett
Arcana: the RPG
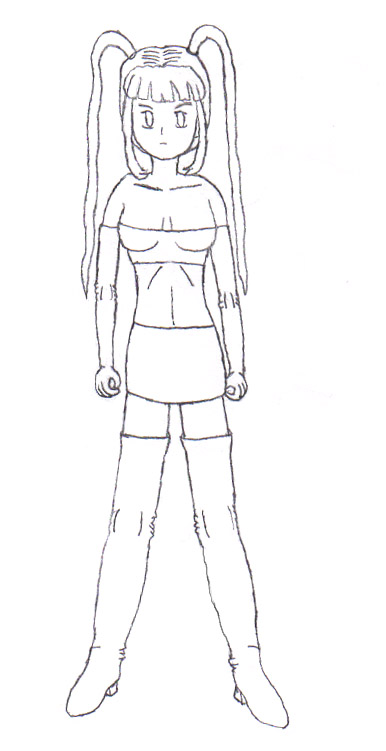
![]()
Run by: Brett
Updates:
Successor Game Neo-Arcana
Logs:
Tableau 1: Introductions, Fights, and Ramen (Katie, Shingo, Taki | Chikako, Hiro Kasuga, !Saki, Kyoko, Reiji, Ramen Guy)
Tableau 2: Saki the gaki! (Katie, Shingo, Taki | Eriko Miyashita, Ryuji Hazuki, !Saki)
Tableau 3: The Mighty Lu Bu! Shingo and the principal. On the phone
Tableau 4: Answers? Only if Kyon gets off his high horse.
Tableau 5: Male Pride
Tableau 6: Talk about them like they're not there.
Tableau 7: Enter the Hockey
Tableau 8: Shingo never learns Kyon and Chikako talk.
Tableau 9: Katie, you're no Doogie Howser. Kyon and Chikako talk again. Jailhouse Blues
Tableau 10: Questioning is Hard. Kyon and Chikako exchange whispers
Tableau 11: Been there, done that. Why do characters always feel the need to eat?
Tableau 12: If I'm going, you're going! Girl Talk
Tableau 13: Sadness Let's split up, gang!
Tableau 14: On Truth and Lies
Tableau 15: Drugs are bad bad bad!
Tableau 16: Kyon has enemies he doesn't even remember! The locker room. The kendo room. Chikako's got something for Kyon! (Jiro, Katie, Kyon, Meimi, Satoshi | Chikako, Riko Tokuzawa, Ryuji, Taro Nishizaka)
Break 1: Drugs are still bad bad bad!
Tableau 17: Dinner and a spyflick.
Tableau 18: The chase! Meimi's not so hot pursuit. Kyon in hot pursuit.
Tableau 19: Explanations! ...er, not really. Kyon and Chikako
Tableau 20: Imaginary Catgirls! (... | ... Illusionary Takeo, Mimi)
Tableau 21: Logical Lies, Surreal Truth
Tableau 22: A Smirk of Kyons! Kyon and Kyoko Whisper Kyoko Phone Call (Jiro, Katie, Kyon, Meimi | Chikako, Ryoko Ozora, Illusionary Old Man)
Tableau 23: That we should dance another day Punchbowl Conversations(Katie, Jiro, Meimi, Satoshi | Chikako, Taro Nishizaka, Mimi, Ken, Riko, Remi Mizuki)
Tableau 24: The Reality of the Situation.
Tableau 25: This One's for Real. Honest. Konversation in the Kitchen
Tableau 26: Burning Ice
Tableau 27: Detective Work Kyon and Satoshi track someone down Kyon and Chikako whisper (Haruko, Katie, Kyon, Satoshi, Taki | Remi Okui, Chikako, Coach Fujisawa, Riko Tokuzawa)
Tableau 28: Frozen Persuit (Haruko, Katie, Kyon, Taki, Satoshi | Remi Okui, Yuji Maeda, Yumi Maeda)
Break 2: A New Friend, a New Scenario (Katie, Kaede | Chikako, Ryo Shingo)
Tableau 29: Patient as Ever Kyon on the phone (Katie, Kaede, Kyon, Satoshi, Taki | Remi Okui, Eriko, Ryuji, Saki)
Tableau 30: Philosophically Impossible (Haruko, Katie, Kaede, Satoshi, Taki | Remi Okui, Katsuchiyo Iwato, Yumi Maeda, Matsuhiro Iwato)
Tableau 31: Planning a Raid During Dinner
Tableau 32: Another Mystery Solved
Tableau 33: For Want of a New Goalie
Tableau 34: More than Meets the Eye Kaede Gets Stuff Done Katie at the Pao Pao Cafe (Haruko, Katie, Kyon, Satoshi, Taki; Kaede | Chikako, Illusionary Mime, Remi Okui, Sho?, Meimi; Riko; Kyoto Ozora, Taro Nishizaka, Eriko)
Break 3: Five Phonecalls Later (Katie | Taro, Mysterious Black Card Call, Chikako)
Tableau 35: A Pirate's Life for Me! Kyon and Chikako
Break 4: The Long Train to Nowhere
Break 5: Goalie Training
Break 6: Disaster Magnet (Katie | Taro, Ken, a Range of Character's through the Binoculars)
Tableau 36: A Reversal of Roles
Break 7: Hospital Visit
Tableau 37: It's all Zeroes and Ones Katie signs up for Kendo VP to VP talk
Tableau 38: Searching for Answers (Haruko, Kaede, Katie, Kyon, Taki | Chikako, Taro)
Tableau 39: Taking the Initiative Kyon and Kyoko on the phone
Break 8: From the Unknown Katie and Kaede whisper
Tableau 40: Chocolate Day Katie finds trouble. Kyon interrogates Jin (Haruko, Kaede, Katie, Kyon, Satoshi, Taki | Ryuji, Jin, Ken, Taro)
Break 9: Valentine's After School
Tableau 41: 10 P.M. Sonnet
Break 10: Saturday at the Shrine
Tableau 42: Black Leather, White Night (Haruko, Katie, Kyon, Kaede, Satoshi, Taki | Ryuji, Eriko; Jin; Saki; Sumire, Natsuko, Takeo, Shingo; Nanami, Tenjirou)
Tableau 43: On Edge Out in the Hall Time to Go Eat
Break 11: Girl's Day Out In the alley
Break 12: Satoshi's Admirable Physique
Break 13: True Colors (Yumeka, Taki | Mimi, Ryo, Tuxedo Shamrock)
Tableau 44: Snowball Fight! Haruko's got a crush. The first half of the snowball fight
Break 14: Trust
Tableau 45: Cellular Service Haruko gets a date Kaede and Riko Kyon vs a dummy
Tableau 46: Eavesdropping Computer Club #1 Kendo Computer Club #2 Kyon and Chikako talk (Haruko, Kaede, Kyon, Satoshi, Katie, Taki | Chikako; Hirokazu, Eriko; Taro, Ryuji)
Break 15: Working things out over dinner(Katie | Taro)
Break 16: Invincible
Tableau 47: Blind Fate Kaede and Katie She finally finds out
Tableau 48: Bad Manners Kaede and Chikako
Break 17: Hats and Thai Food
Tableau 49: Musical Appreciation Haruko's Errand Kyon on phone Kaede calls Remi Irritated Saki (... | ..., Mimi)
Break 18: Pajama Party
Tableau 50: Calling from Heaven Goons
Tableau 51: Big Fight Ambulance (... | Taro, Ken)
Tableau 52: Unwanted Hospital (Katie, Taki, Satoshi, Kyon | Chikako, Taro, Kenjii Sagara, Kouji Shimiri)
Break 19: How to Act
Tableau 53: Inquisition Chasing Saki Newspaper Office
Break 20: Web Search
Tableau 54: A Game of Cat and Mouse (... | ..., Mimi)
Tableau 55: The Secret Origin of Kyon
Break 21: Promises are Made to be Broken
Tableau 56: Invasion of Privacy The roof Haruko, Satoshi and Taki
Break 22: Nobody's Perfect
Tableau 57: Cherry Blossom Festival: First group Second group(Haruko; Satoshi, Taki Katie; Kyon; Kaede; Katie | Riko; Jin, Hikaru, Takako
Matsumura; Matthias, Kaoru; Nanami, Remi Okui; Taro, Eriko )
Tableau 58: A Point from which to Start
Tableau 59: Birthday Special Kyon follows Katie Kaede's first call Kaede's second call
Tableau 60: Brotherly Love Katie and Kaede
Break 23: Childhood Dreams
Tableau 61: Understanding Saki Katie and Kaede sure like to go off on their own a lot
Tableau 62: Idol Fever Vampire Fever Bishonen Fever (Kaede, Katie; Haruko; Satoshi, Taki | Akemi Shiraishi, Yurika Miataka; Eriko, Ryuji; Chikako, Mentioned:Scott
Kinjorski)
Break 24: Interrogation (Katie, Kaede; Yurika Miataka)
Tableau 63: Too Friendly Computer Club Haruko's troubles
Break 25: High Class Dinner Haruko and Taki Whisper Katie and Chikako alone
Break 26: Murphy's Date (Kaede | Jin, Akemi Shiraishi, Remi Okui, Nanami Takeuchi)
Break 27: Late Night Chatter
Tableau 64: Fearful Cry Haruko and Kaede
Break 28: Truth Not Dare
Tableau 65: Beware the Unseeing Eye Katie phones Chikako Haruko's recruitment attempt Mind games (Haruko, Kaede, Katie, Satoshi, Taki; Kyon | Yushiro Kageri; Nanami Takeuchi, Akemi Shiraishi; Chikako; Eriko, Hirokazu)
Tableau 66: Cleanup on Aisle Six Kaede runs into a problem Kaede calls for backup Haruko Summon Walk in the Rain (... Haruko, Kaede | ... Remi)
Break 29: A Well Thought Out English Phone Call
Break 30: A Quick Warning
Tableau 67: Lost Perspective Mechanic Panic Whispers Counter Whispers
Tableau 68: Experiments and Experts Chikako call Haruko tagalong Not a good sign (... Mamiya Kanae)
Tableau 69: Martyr Threatening call
Break 31: Kay-tee phone Aomori
Tableau 70: The Headaches Never Cease Newspaper Office
Tableau 71: Never Give Up Haruko and Arisu Kaede on Phone(Haruko, Katie, Kaede, Satoshi | Taro, Arisu; Nanako Okui)
Break 32: Satoshi: Man of Inaction
Tableau 72: Teamwork Whispers Remi call(... | ... Mimi)
Tableau 73: Slip of the Tongue Taki on phone
Tableau 74: A Walk in the Park
Tableau 75: Chasing Shadows Taki call At the apartment Telepathic conversations
Tableau 76: Take the Joy Out of Joyriding The car The phone The head
Tableau 77: Cookie-Snatcher
Tableau 78: Gloom and Doom (Satoshi, Taki, Katie; Haruko, Kaede | Sumire, Takeo; Miho Ryokama; Akemi, Nanami, Saori)
Tableau 79: White Out Mental stuff
Tableau 80: Silent Existence Alpha Silent Existence Beta Silent Existence Gamma (Kyon, Taki; Haruko, Katie; Satoshi, Kaede | Winston; !Saki, Isao; Jin)
Tableau 81: Revelations Telepathic conversations (Haruko, Kaede, Katie, Kyon, Satoshi, Taki | Winston, Jin)
Tableau 82: The Past is History (Haruko, Kaede, Katie, Kyon, Satoshi | Winston, Jin)
Tableau 83: The Past Can Wait Thinking of a Number
Tableau 84: Gang warfare Goon Healing
Tableau 85: Even Arcana have to deal with parents Taki's call Haruko's call Kaede's call Katie's call (Haruko, Katie, Kyon, Satoshi, Taki; Kaede) | Kouji Shimiru; Yuudai Kinsha; Akemi Shiraishi, Nanami Takeuchi; John Andrews)
Break 33: Dedicated anti-socialist (Kaede, Katie)
Tableau 86: Connections and Plans Never a Dull Moment with Akemi (Haruko, Satoshi; Taki; Kaede | Jin; Akemi, Nanami; Nanako Okui; )
Tableau 87: Social Highground
Tableau 88: The Angry Technique Phone (Kaede, Katie, Kyon, Satoshi, Taki | Ayako, Remi; Akemi)
Tableau 89: Reporting Absence Outside Kaede goes insane
Tableau 90: Confession Depression Decision
Break 34: Be Happy!
Tableau 91: The Fall of the House of Kunoichi
Tableau 92: Breaking News
Tableau 93: A lot of Nothing
Tableau 94: The Art of the Sword Liquid Assets
Tableau 95: Tangled Web Satoshi in Katie's head Satoshi in Taki's head
Tableau 96: Blades of Vengeance Phonebooth Teatime
Break 35: Fallen
Break 36: Logistics
Tableau 97: Bullet Train Time Ghost Story Kaede calls Katie's home Kyon calls Chikako's home
Tableau 98: Intensive Care Train of Tears Brainscan
Break 37: Hotel of Mirrors
Tableau 99: Face to Face Self-Evaluation Taki and Haruko sneak off Phone with Akemi (Haruko, Kyon, Taki; Katie, Kaede, Satoshi | Megumi Ishiwatari, Souichirou; Akemi)
Tableau 100: Bitter End Half a Heart The Exclusive Phone Conversations
Break 38: Forgotten Dreams
Tableau 101: Limited Edition Interview with a Queen Satoshi and Kaede
Break 39: Of Italian and Bowlers
Tableau 102: Original Sin Laugh Detente Taki calls Akemi (Haruko, Katie, Kaede, Satoshi, Taki | Remi; Yusuke; Jin; Chikako; Akemi)
Break 40: Mr. Know-It-All
Break 41: How to use a Phone
Break 42: The Walk to School
Tableau 103: Back to Normal Ryuji Visit Remi Visit Phone Conversations
Tableau 104: Strike Out Whispers (... | Izumi Motobuchi ...)
Break 43: Girls are Weird
Break 44: Serious Business (Haruko | Akemi)
Break 45: High School Dilemmas
Break 46: No Catch
Tableau 105: The Real Image Journey to Shunyo Inside Shunyo High(... | Izumi Motobuchi ...)
Tableau 106: Love and Hate Dear Diary(... | Izumi Motobuchi ...)
Break 47: Pretend Nothing Happened
Break 48: Unacceptable Apology
Tableau 107: The Reaper Rooftop Blues Holy Grail(... | Izumi Motobuchi ...)
Tableau 108: Scaring the Cat
Tableau 109: The World Between No Answer
Tableau 110: Best Left Unsaid Strange Rituals (Haruko, Kaede, Katie, Kyon, Taki; Satoshi | Kyoko (Unconcious); Saki, Jin; Nori, Toshiki; Akito Garcia; Matthias, Kaoru, Goro, Akemi)
Break 49: Chain of Command
Break 50: Shaking the World (Satoshi | Akemi, Matthias, Saki; Masaru Uehara | Isao)
Tableau 111: Doubt Ashes to Ashes Cursed Journey (Haruko, Kaede, Katie, Kyon; Satoshi | Kyoko (Unconcious); Saki; Isao; Akemi, Matthias; Remi; Norishige | Hideo Watanabe, Mikari, Mikari's Lover, Saki; Isao, Yameko; Hideo's Driver; Remi, Norishige)
Tableau 112: Angry Jackal Late Night Call (Haruko, Kaede, Katie, Kyon, Kaede, Satoshi, Taki | Kyoko, Remi, Saki; Toshiki; Akemi Shiraishi, Matthias; Katie's Parents)
Break 51: New Management (Kaede | Akemi)
Break 52: Information Exchange
Tableau 113: A Lot to Think About
Break 53: Burden
Break 54: The Rest of the Stories
Break 55: Samurai Honor
Tableau 114: Consequences Chikako's Fear Haruko's Lucky Day Psychocrusher
Break 56: Comfort Cake
Break 57: Hope
Tableau 115: Surface Tension Privacy Bikes Training Methods Kaede on Phone Kyon on Phone
Break 58: Bad Times
Tableau 116: Archer Cool Friends Taki calls Chikako
Tableau 117: Carpooling Pointman Speaking French(... | Izumi Motobuchi ...)
Tableau 118: Photographic Memory Murphy Returns Double Dealing Score(... | Izumi Motobuchi ...)
Tableau 119: Interview in the Rain French China Telepathy log
Break 59: Samurai Spirit
Tableau 120: Playing with Knives Easter Egg Hunt You First Seeking Katie
Tableau 121: Existential Theory Promise of Death Outside The Getaway
Tableau 122: Fear Effect Royal Orders Phone Conversations
Tableau 123: A Crisis in the Making The Dead Guy Haruko's Private Chat Phone
Tableau 124: What Not To Do
Break 60: Fortune Telling
Tableau 125: Wild Goose Chase Akemi Call
Tableau 126: Hot or Not Subdued Hide and Seek Kaede and Yorihisa Vengeful Kidnapping (Haruko, Kaede, Satoshi, Taki; Katie | Chikako, Masaru; Yorihisa; Tenjirou, Ryo, Saki)
Tableau 127: The Lesser Evil The Basement Akemi Call(Haruko, Satoshi, Taki, Kaede; Katie | Saki, Tenjirou; Akemi)
Tableau 128: Unstoppable Fulfilling the Prophecy Foot Race Blood Bonding(Satoshi, Taki, Kaede; Haruko, Katie | Ryo, Saki, Tenjirou; Chariot; Tuxedo Shamrock)
Tableau 129: Sleepover Katie's Room
Break 61: Mathwork
Break 62: Half an Argument
Break 63: Normal Love
Tableau 130: Dance the Night Away Triangle
Break 64: Taki's Uncertainty
Break 65: Pity Date
Tableau 131: Love Strikes Again Chem Lab Escapades
Tableau 132: Crow's Nest Telekinesis
China 1: Foreign Study
Tableau 133: Molecular Mayhem Unconcerned
Tableau 134: Experimentation Desire to Kill Not Stealthy
Tableau 135: Anti-Lock Brake How not to Call for Help
China 2: Foreign Relations
Tableau 136: Shower Strategy Calling Katie
Tableau 137: Open House
Tableau 138: Tentacles Concern
Tableau 139: Web Dilema
Tableau 140: Open Study Economical Fortune-Telling
Tableau 141: Serizawa Melee Static Solitude
Tableau 142: Two Places at Once Talking Behind Haruko's Back Haruko Phone
Tableau 143: Concerto Americanism (...; Haruko, Taki | Remi Okui)
Break 66: The Arcana Link
Break 67: Hockey Talky
Tableau 144: Omlette Kyonathon
Tableau 145: Murder Plot
Tableau 146: Murder Plot Cont'd Kyon Call Chasing Kaede
Tableau 147: Nobody Knows Trying to Find Out
Tableau 148: The Meimi Affair Obscenities Katie's superior hearing Sumire Call
Break 68: Life-Saving Permission
Break 69: Horrible People
Break 70: Cookies
Tableau 149: Data Compilation
Tableau 150: Wear a Hardhat
Tableau 151: Tricky, Tricky Generation Gap
Tableau 152: Unsanitary Water Hangup Haruko's sneakings Answering Machine
Tableau 153: Urban Tracking Satoshi/Haruko Aside Intense Silent Action Katie's Short Eavesdropping Escapade
Tableau 154: Customers or Lack Thereof Competing for Dancing Maidens
Tableau 155: Why people use elevators Drunken Subway Return of Cool
Tableau 156: Moral Murder Hiding
Tableau 157: Lunchtime Blues Chikako Talk(Haruko, Katie, Kaede, Satoshi, Taki | Chikako, Ken, Taro)
Tableau 158: Massage Party Phone with Akemi
Tableau 159: Operation: Kill Tenjirou Ryuji's Desperation Rooftop Angst
Tableau 160: Mediator Mathwork Akemi Call
Tableau 161: Not Much Stability Left Satoshi's calls to Taki Katie's Phone Conversations Haruko Visits Taki Sitting In a Tree
Tableau 162: Traditional Restaurant Phantasm Matthias's Short Call
Tableau 163: Truce Sushi Samurai and Fencer
Tableau 164: Group Study
Tableau 165: Group Study, Continued
Tableau 166: Lord of the Flies Haruko Phone
Tableau 167: Jackal Invasion Kaede and the French Maid! (sorta) (Haruko, Kaede, Katie, Taki, Satoshi | Akari Toshibara, Izumi Motobuchi, Soliel Cardinaux, Takako Matsumura (and her two flunkies), Toshiki)
Tableau 168: Exciting Typing Action Digging Through Trash Tattoo Exposure (Haruko, Kaede, Katie, Taki, Satoshi | Soleil, Izumi, Yorihisa, Hirokazu, Akari Toshibara, Yuki Ijima)
Tableau 169: The New Band Abominations Life in the Slow Lane (Haruko, Kaede, Katie, Satoshi, Taki | Soleil, Shun Mijunkuro, Miho Ryokama, Sumire, Takeo, Nameless Assassins)
Tableau 170: Dark and Stormy Night At the Bus Stop (Haruko, Kaede, Satoshi, Taki | Soleil, Bearded Assassin, Suspicious Motorcyclist, Newscaster)
Tableau 171: The Ambush that Wasn't Drowning in Darkness
Tableau 172: The Arcana Shuffle
Tableau 173: The Former Lovers A Passionate Kiss Haruko Makes Notes (... Mamiya Kanae)
Tableau 174: Another Black Taki's Search
China 3: Foreign History
China 4: Foreign Religion (Kyon | Kyoko Ozora, Tomoyuki Kojirokawa)
Tableau 175: The High Priestess Paper Lantern
Tableau 176: Approaching the Park Not a Good Night
China 5: Foreign Movie? (Kyon | Kyoko Ozora, Tomoyuki Kojirokawa)
Tableau 177: The Black Truth Calling for Help (Haruko, Katie, Kaede, Satoshi, Taki | Jiro Hosukawa, Shika Fukuyen, Yusuke Fukuyen, Kataki, Saki, Izumi Hanagawa, Not-Saki, Hinako, Takashi, [Quiet at Tower: Matthias, Miho, Senshiro, Sumire, Takeo, Yorihisa, Nori(?), Akito(?)])
Tableau 178: A Bridge Too Far Arrows (Haruko, Katie, Kaede, Satoshi, Taki | Not-Saki, Saki, Shika, Takashi Ogiwara, Yusuke, Remi Mizu, Remi Okui, Yuji Maeda, Yorihisa Murimura)
China 6: Foreign Traps (Kyon | Kyoko Ozora, Tomoyuki Kojirokawa)
Tableau 179: Dying Medical Troubles (Haruko, Kaede, Katie, Satoshi, Taki | Saki, Shika, Takashi Ogiwara, Yusuke, Remi Mizu, Remi Okui, Yorihisa Murimura, Yuji Maeda, Nori)
China 7: Foreign Hostage Situation (Kyon | Kyoko Ozora, Tomoyuki Kojirokawa, Mountain Bike Kid)
Tableau 180: Hell Hath no Fury, part 1
Tableau 181: Hell Hath no Fury, part 2
Break 71: A Friendly Reunion
Tableau 182: Rooftop Reading
Tableau 183: Narcolepsy
Tableau 184: Nothing There
Tableau 185: Police Investigation Love Advice Student Programs Katie Hears Stuff Katie Sneaks into the Office
Tableau 186: In Common Haruko Makes Calls Kyon Makes a Call Too
Tableau 187: Police Station Invasion Haruko is Sneaky
Tableau 188: Police Station Invasion, Part 2 Inside the Station Telepathy Stuff
Tableau 189: Off to See Hiromi On Kyon's Bike
Tableau 190: Hiromi's Type Talking with Hiroki(... | Hiromi, Hiromi's goons, Hiroki Motobuchi ...)
Tableau 191: More Police Stuff Chatting with Hiromi Spying on the Couple
Tableau 192: Nothing Interesting
Tableau 193: The Slow Road Cleaning Up Best Friends Eriko Calls Haruko Kyon Calls Chikako
Tableau 194: Falling Asleep in the Hallway Sudden Blackout (Taki, Kyon, Katie, Satoshi; Kaede | Akemi, Yuki Ijima)
Tableau 195: Still Asleep in the Hallway Making Kaede's Life Miserable (Taki, Kyon, Katie; Haruko, Kaede | Akemi, Yuki Ijima)
Break 72: Okonomiyaki Date (Haruko, Kyon | Hiromi)
Tableau 196: Breakup Ghosts Imperial Highness(Satoshi, Taki; Kyon; Haruko, Kaede | Hiromi Nekotami; Akemi, Yuki Ijima)
Tableau 197: Train Station (Haruko, Kaede, Katie, Kyon, Satoshi, Taki | Hiromi Nekotami)
Break 73: Post Breakup
Tableau 198: Osaka, part 1 (Haruko, Katie, Kyon, Satoshi, Taki | Hiromi Nekotami)
Tableau 199: Osaka, part 2 (Haruko, Kaede, Katie, Kyon, Satoshi, Taki)
Tableau 200: Osaka, part 3 (Haruko, Kaede, Katie, Kyon, Satoshi, Taki)
Tableau 201: Osaka, part 4 Upstairs
(Haruko, Kaede, Katie, Kyon, Satoshi, Taki | Chariot, Scyther, Saki, Ryuji, other kidnapped Arcana; Sosuke, Isamu Konishita, Eriko; Sho Shingo)
Break 74: Mini
Break 75: Lost at Tea
Break 76: More Mini
Break 77: Uncomfortably Numb
Break 78: Another Mini
Break 79: Yet Another Mini
Break 80: And Another
Break 81: Facing Fear
Break 82: Beyond Acceptance
Break 83: Finally, the last mini of this segment
Tableau 202: The Beginning of the End
Tableau 203: The Ride Home
Tableau 204: To the Tower! Akemi and Kaede Akemi and Taki
Tableau 205: Fun and Games Text Messaging
Tableau 206: Lots of Background Running Late
Tableau 207: The missing session with Hinako
Tableau 208: United, Divided
Tableau 209: Confrontation, part 1
Tableau 210: Confrontation, part 2 Sumire Call
Tableau 211: Unmourned Shika's apartment
Tableau 212: Getting the band back together Side effects
Break 84: It ain't over...
Break 85: ...Until somebody's dead
Cast:
Katie Andrews, played by Ardweden
Taki Shimiru, played by RDMgryphon
Kyon Sorata, played by Capfox
Satoshi Watanabe, played by Ciara
Haruko Kinsha, played by Grysar
Kaede Takeuchi, played by Rowyn
Theme Music:
Theme List
Artwork:
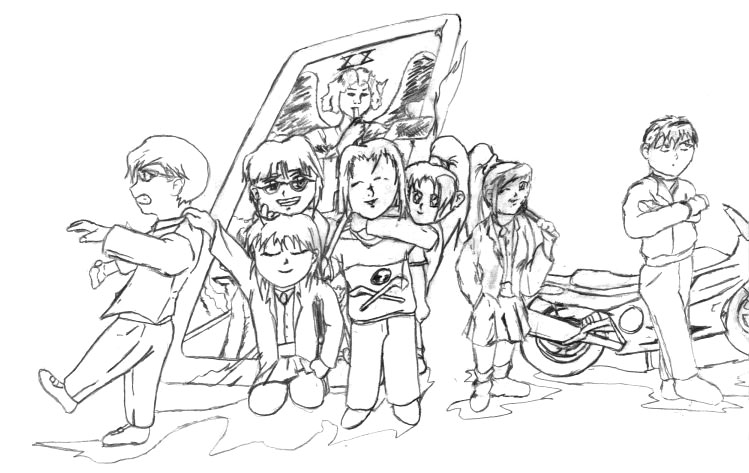
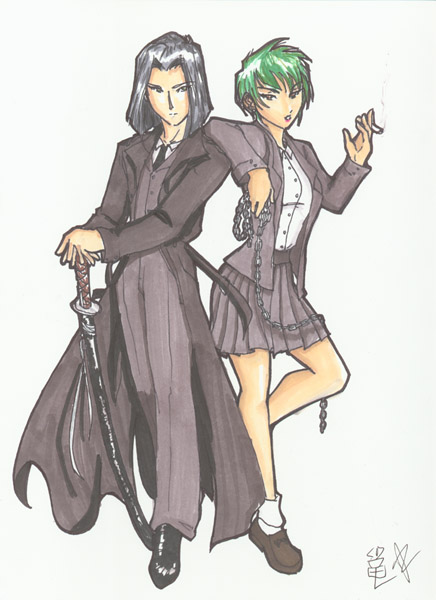
Group Picture by Rowyn
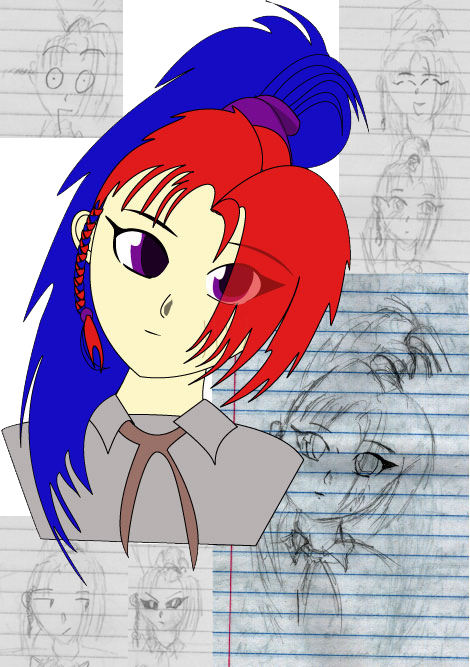
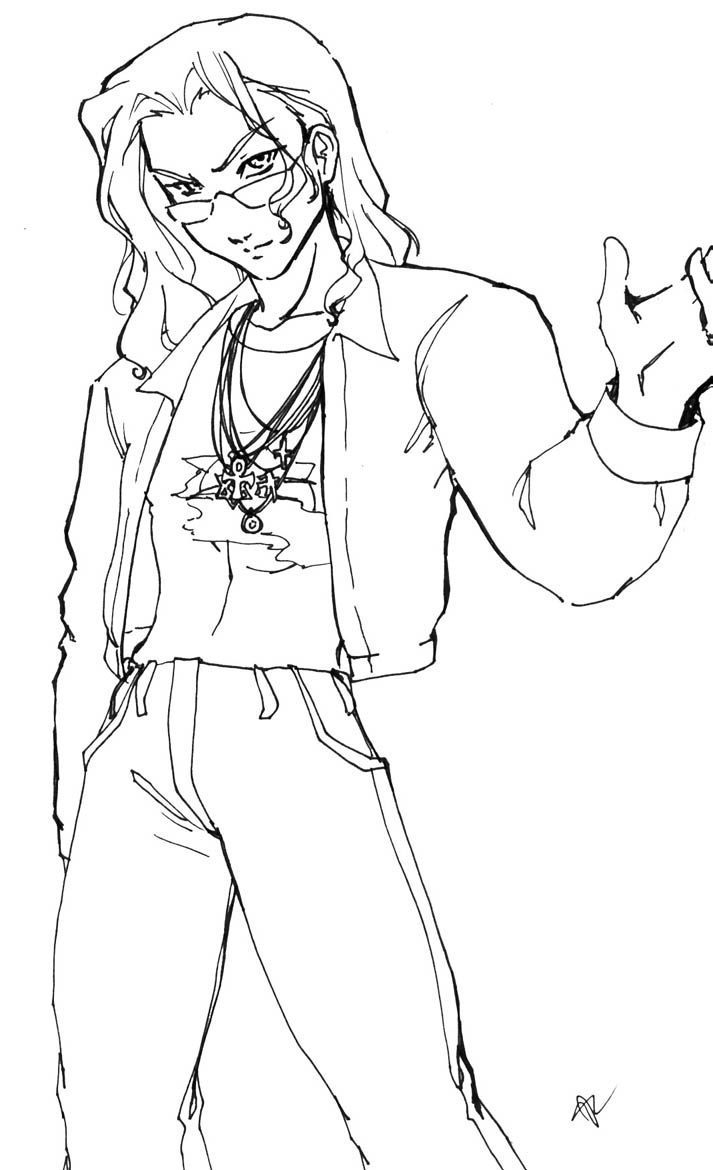
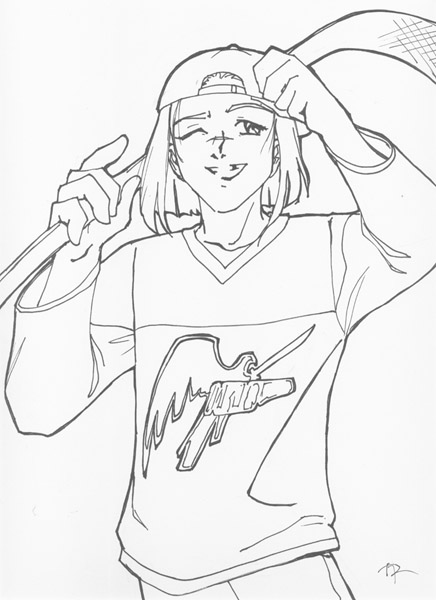
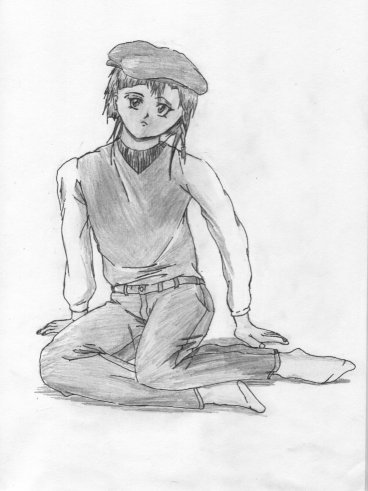
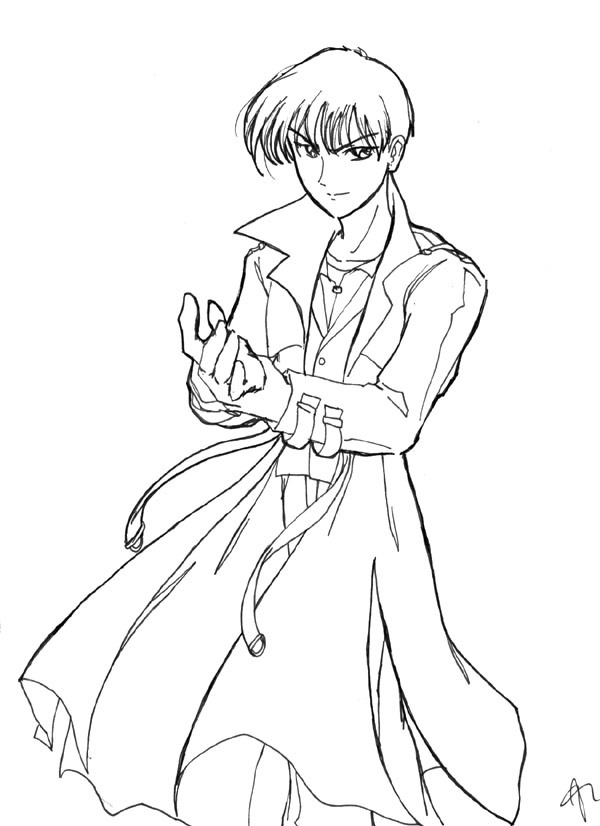
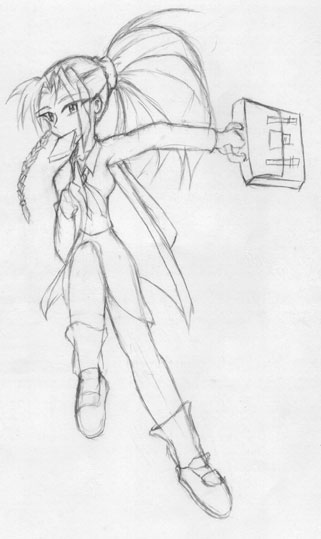
Taki Shimiru by RDMgryphon
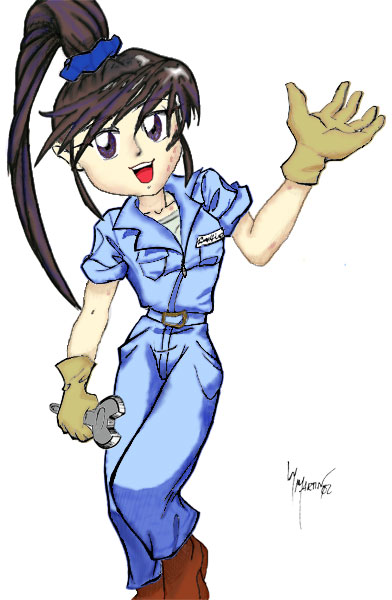
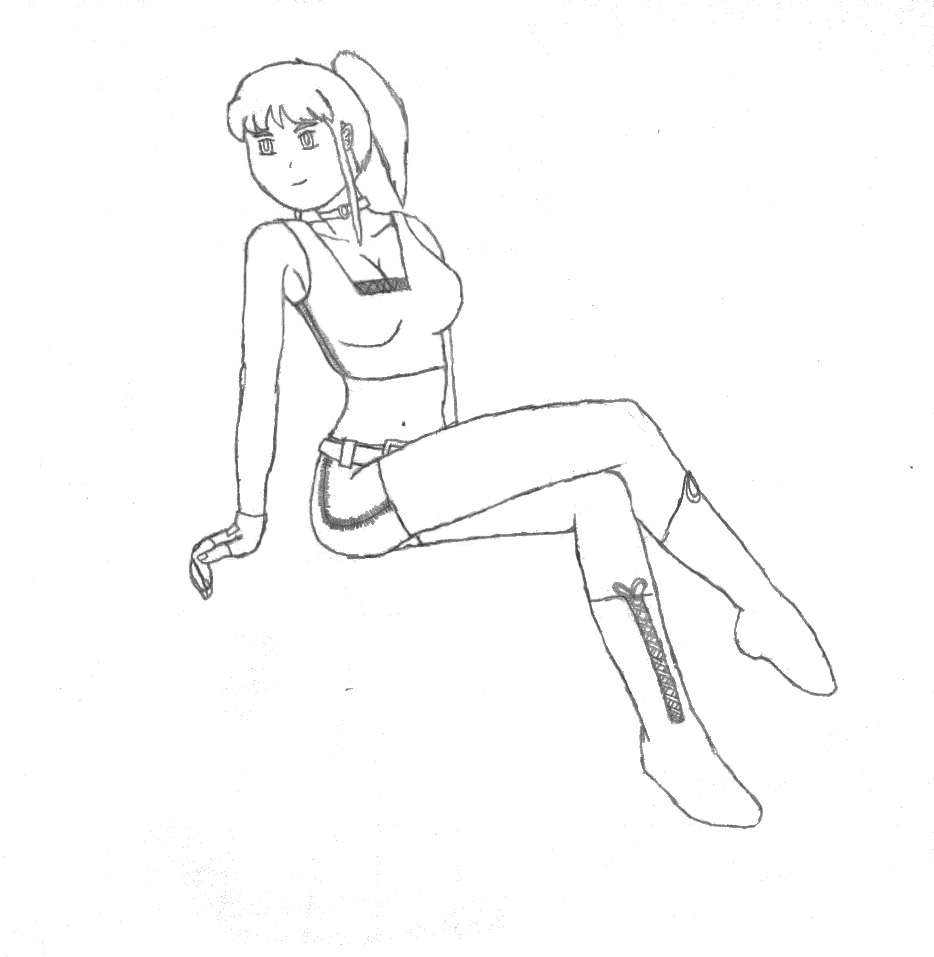
Saki Morikawa by Alison Rementer. Color by Miguel Nieves
Meimi Sakazaki by Yu-Mei
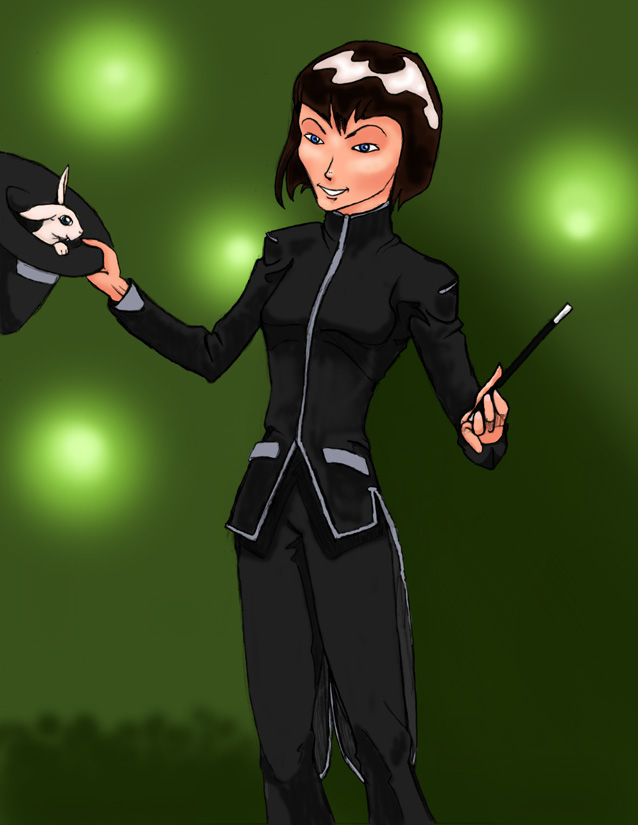
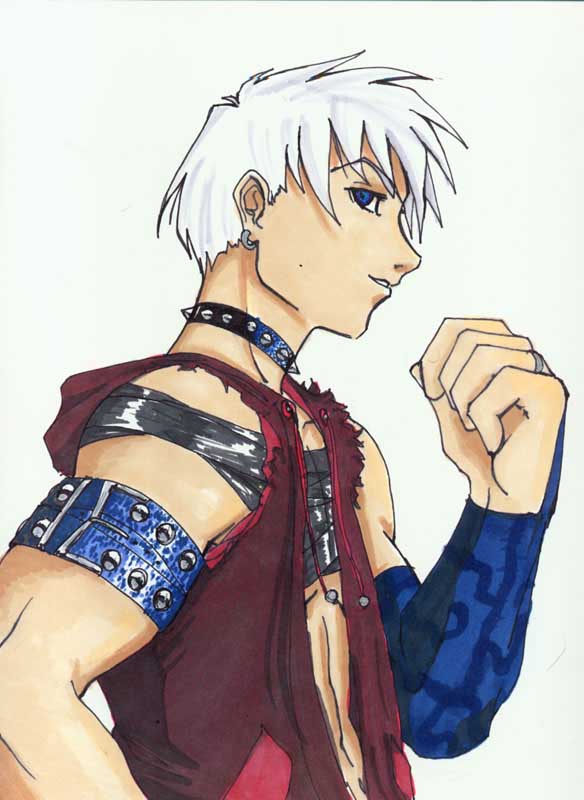
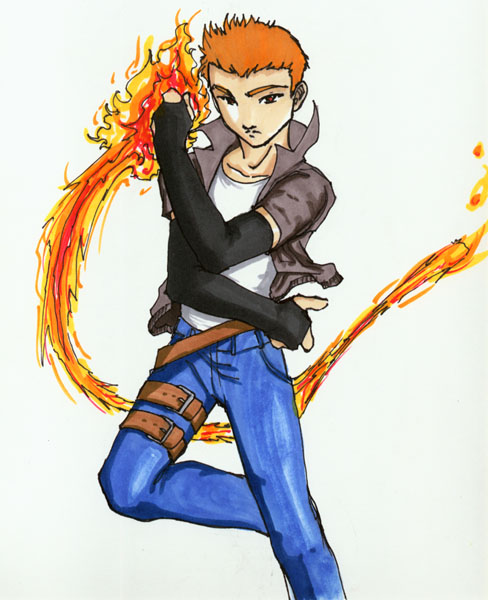
Sho Shinjo by Alison Rementer
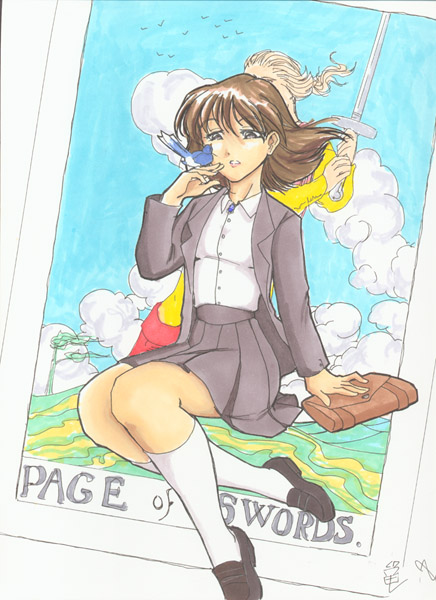
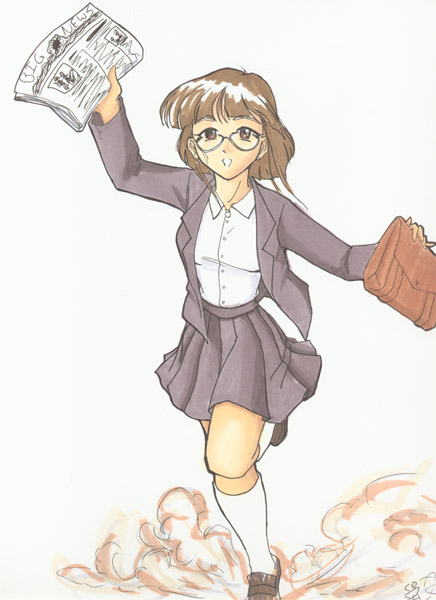
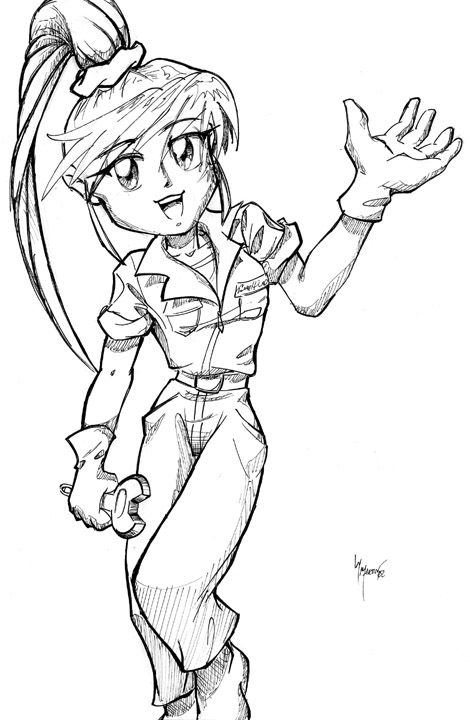
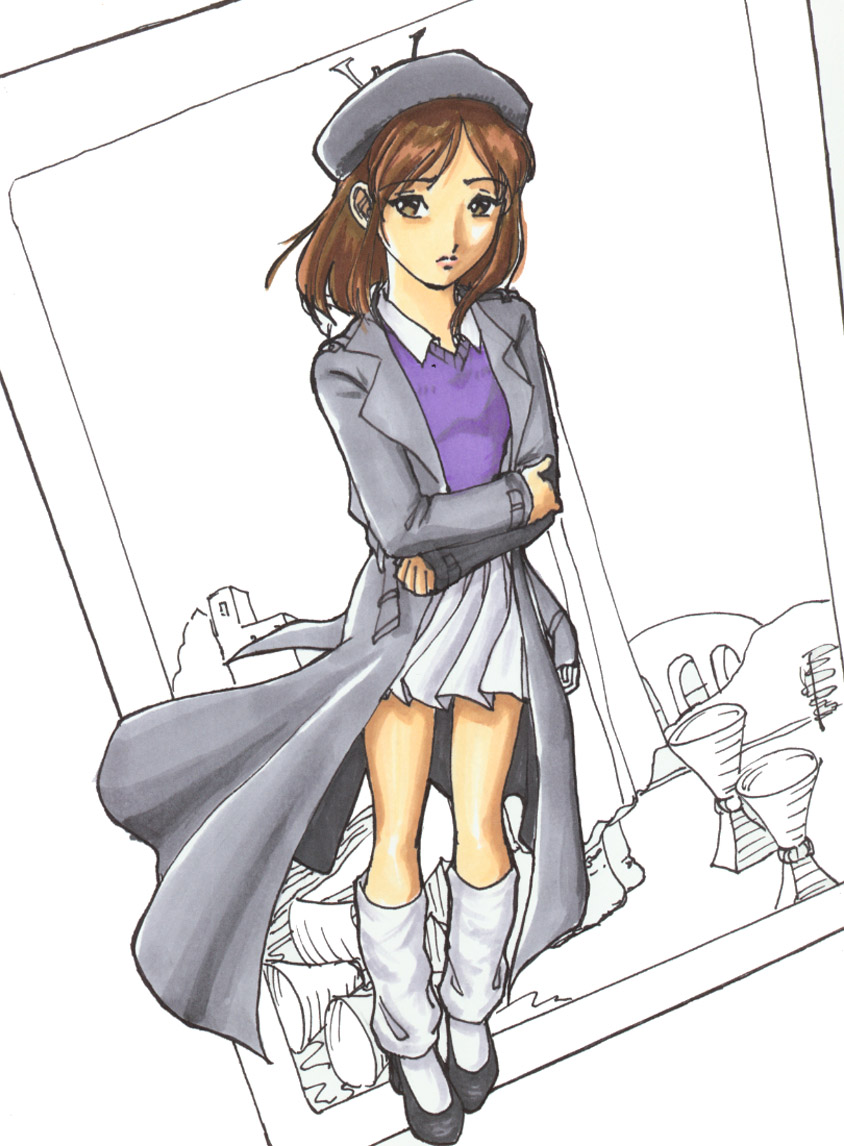
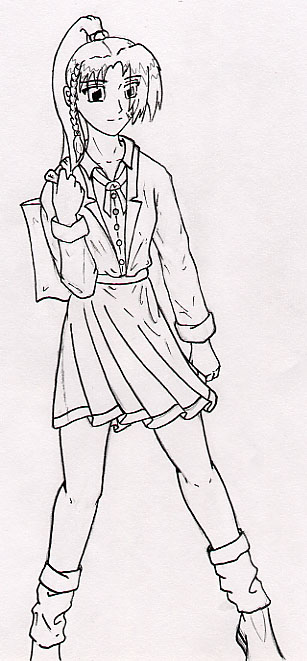
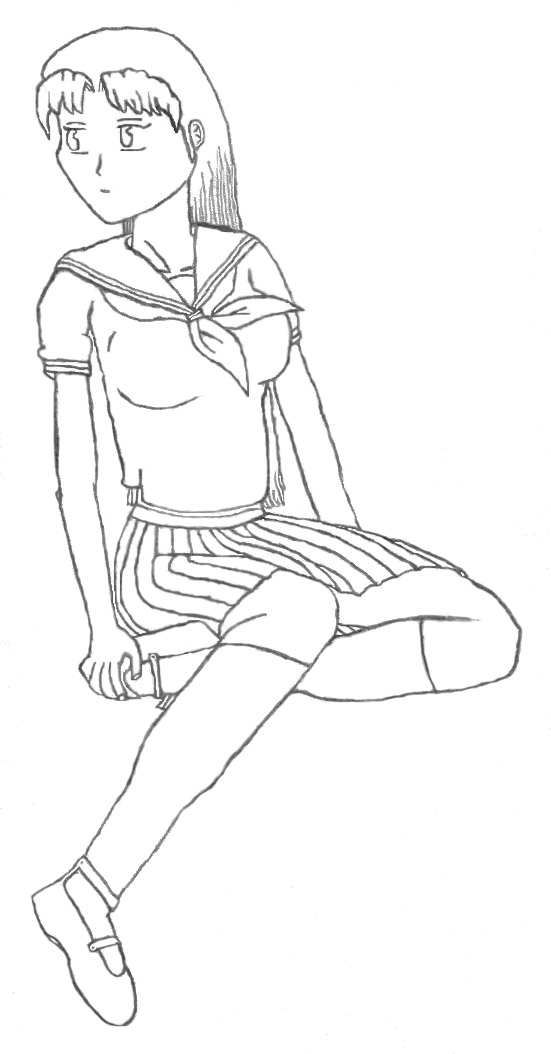
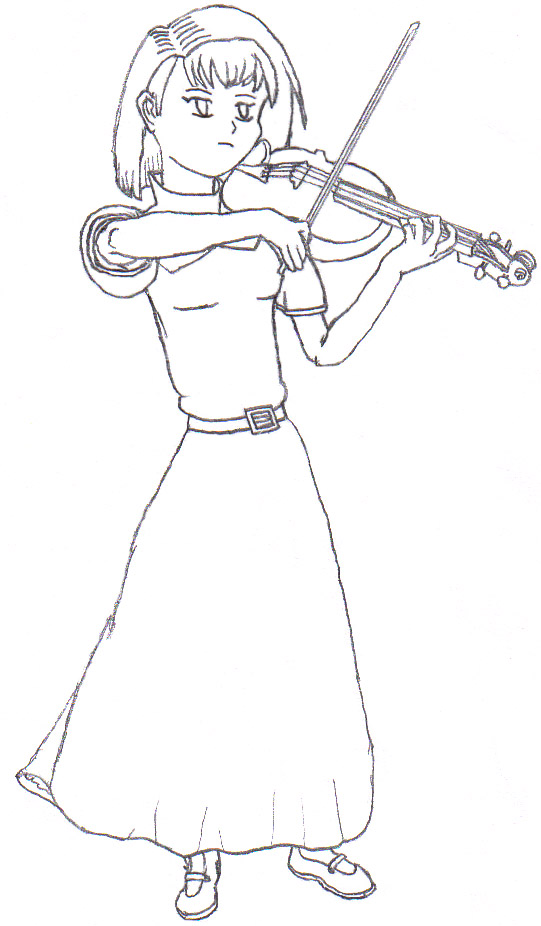
Katie Andrews by Alison Rementer. Color by Miguel Nieves
Chikako Kurita by Alison Rementer. Color by Miguel Nieves
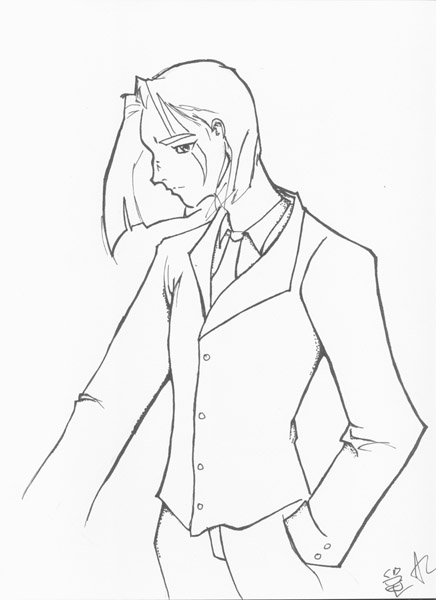
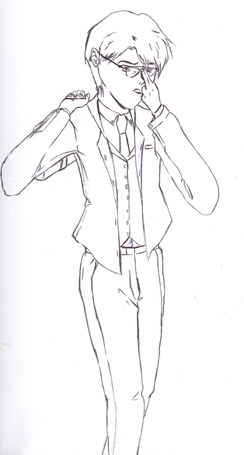
Satoshi Watanabe, dressed for school by Alison Rementer
Satoshi Watanabe, casual by Alison Rementer
Ryuji Hazuki and Eriko Miyashita by Alison Rementer. Color by Miguel Nieves
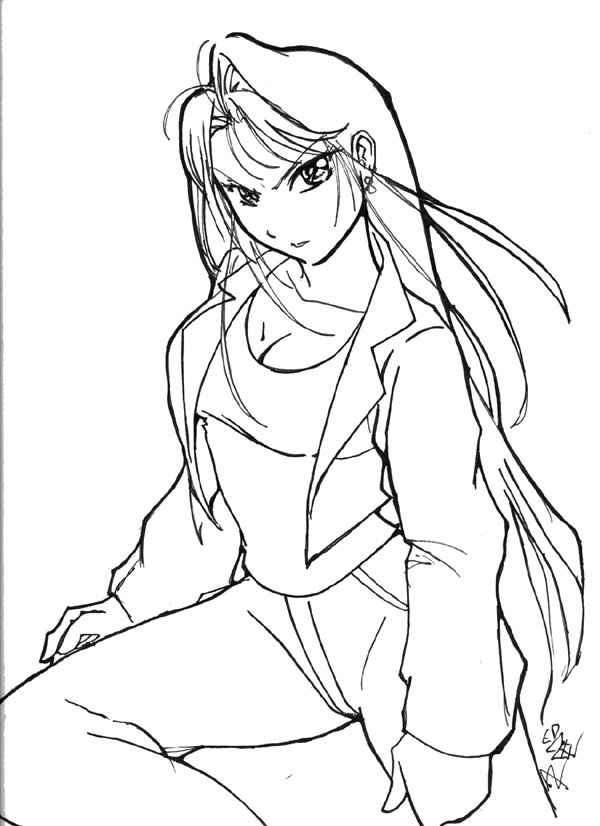
Kaede Takeuchi by Rowyn
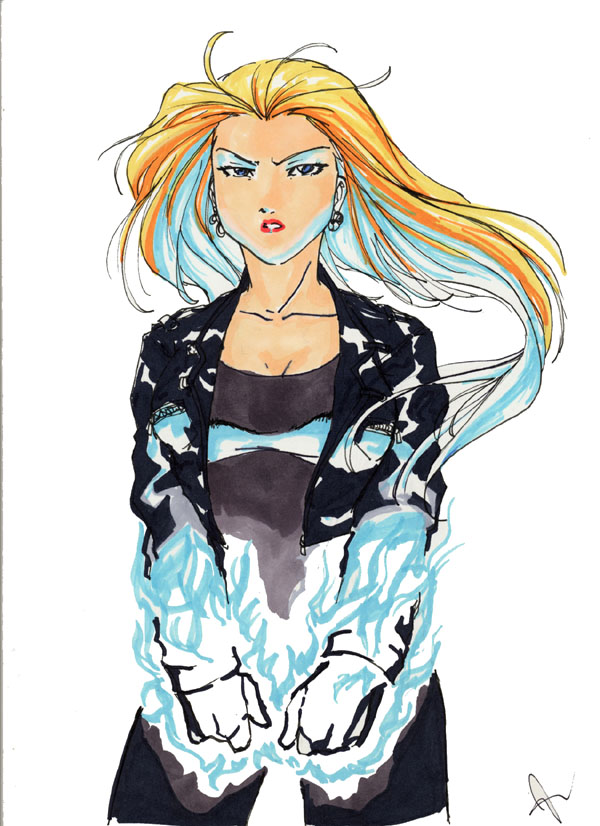
Haruko Kinsha by Chris Hill
Haruko Kinsha (color version) by Chris Hill. Colored by Grysar
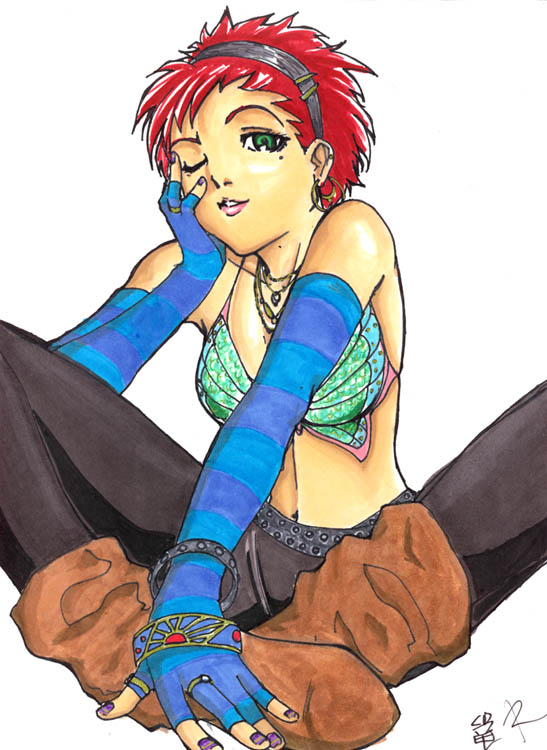
Nanami Takeuchi by Rowyn
Takeo Kirishima by Alison Rementer. Color by Miguel Nieves
Sumire Himeyama by Alison Rementer. Color by Miguel Nieves
Remi Okui by Alison Rementer. Color by Miguel Nieves
Quentin Nagawa, MC version by Alison Rementer
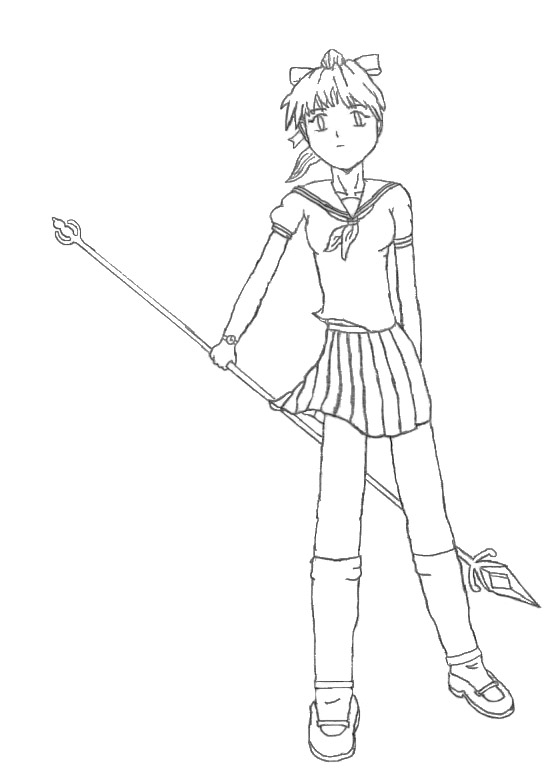
Saki Morikawa, MC version by Alison Rementer
Kyon Sorata by Alison Rementer. Color by Miguel Nieves
Taki Shimiru by Shiari
Taki Shimiru, color by Shiari. Colored by RDMgryphon
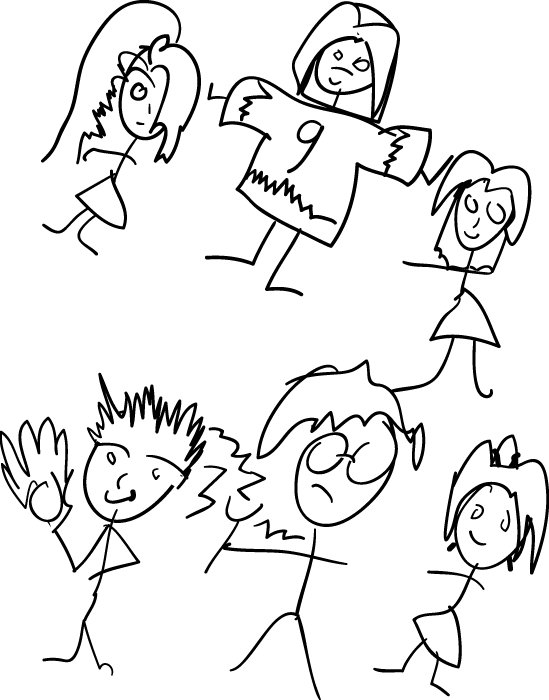
Arcana Stick Figures by RDMgryphon
Taki, take two by Lord Hikaru
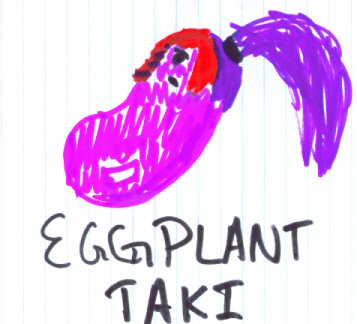
Eggplant Taki! by Ardweden
Shika Fukuyen by Brett Schimmel
Soleil Cardinaux by Brett Schimmel
Kyoko Ozora by Brett Schimmel
Akari Toshibara by Brett Schimmel
Miho Ryokama by Brett Schimmel
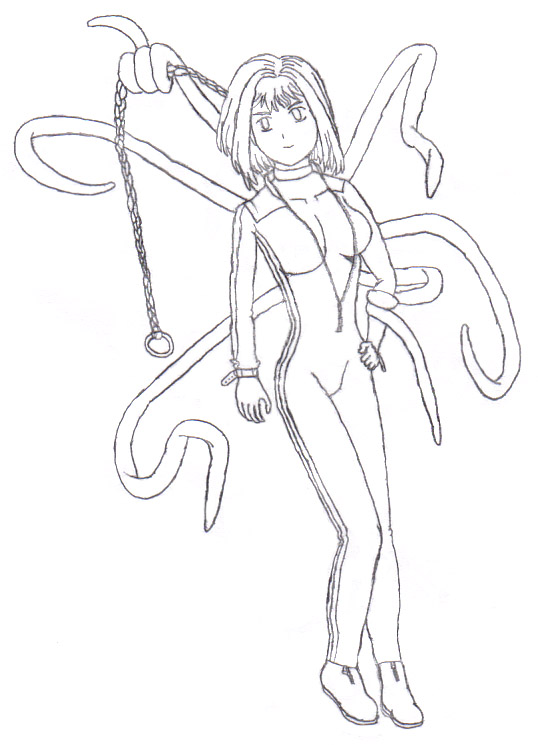
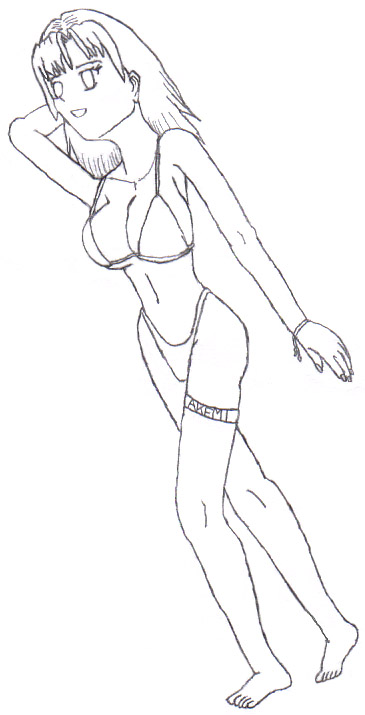
Akemi Shiraishi by Brett Schimmel
Riko Tokuzawa by Brett Schimmel
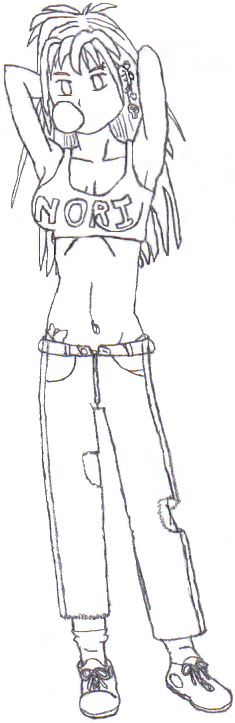
Nori by Brett Schimmel
Natsuko Kourakuen by Brett Schimmel
Hinako Arai by Brett Schimmel
Shika with her hair down by Brett Schimmel
Etc.:
Character Creation Rules/Background Info
A list of characters in the game
Card/Character List
Reversed Card/Character List
A list of past and present story arcs in the game
Information about the schools in the game
The Sakuragaoka hockey team roster
The Sakuragaoka mechanic's club roster
Quotes
Summaries (sessions 1-100)